

A Guide to Methods and Techniques
Linocut printing is known for its bold, graphic quality—but adding colour can bring a whole new dimension to your prints. Whether you’re a beginner or a seasoned printmaker looking to experiment, there are several ways to incorporate colour into your linocuts. Each method has its own charm, complexity, and creative potential. Here’s a breakdown of the most popular techniques:
1. Single Block, Multi-Colour Printing
This method uses a single block but prints different parts of it in different colours, often by selective inking.
How it works:
Use rollers (brayers) of different sizes to apply separate colours to specific areas of your carved block.
Alternatively, use masks or stencils to block certain areas while inking others.
Pros:
Simple setup with only one block.
Easy to realign for multiple prints.
Cons:
Limited detail and control with colour placement.
Risk of colours mixing unintentionally on the block.

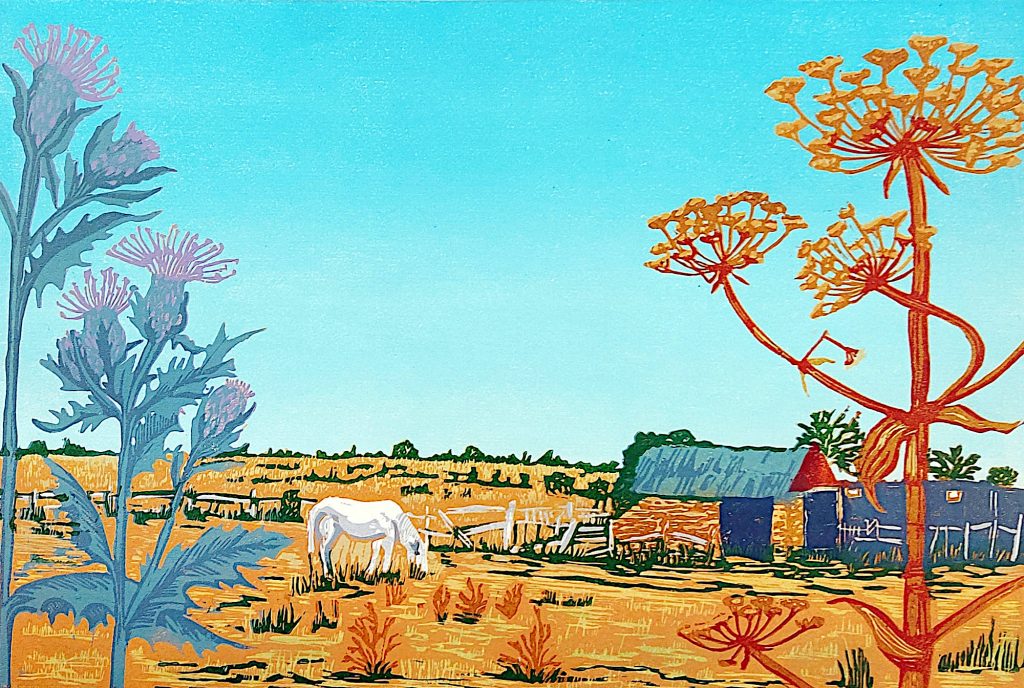
3. Multiple Block Printing
This method uses a separate lino block for each colour in the design.
How it works:
Carve a different block for each colour layer.
Register each block carefully so they align when printed.
Pros:
Flexible and repeatable—easy to reprint editions.
You can refine or replace individual colour layers.
Cons:
More time-consuming and requires precision.
Managing registration can be tricky.
4. Chine-Collé
Chine-collé introduces colour by embedding thin coloured paper into the print during the pressing process.
How it works:
Apply adhesive to delicate coloured paper.
Place it on your printing paper, then print the inked lino block over both.
Pros:
Adds subtle texture and colour.
Great for incorporating patterns or fine detail.
Cons:
Fragile process—paper can wrinkle or shift.
Takes practice to get consistent results.
5. Hand-Colouring
A post-printing technique, where colour is added by hand after the print is dry.
How it works:
Use watercolours, inks, coloured pencils, or pastels to paint the printed image.
Pros:
Maximum flexibility—each print can be unique.
No registration worries.
Cons:
Time-consuming for large editions.
Not strictly a printmaking process—more of a hybrid.
6. Monoprinting Over Linocuts
Layering monoprints (one-off ink washes or textures) under or over linocut prints creates striking visual effects.
How it works:
Print a colourful monoprint background first.
Print your linocut on top, or vice versa.
Pros:
Dynamic, expressive results.
Each print is unique.
Cons:
Less control over final colour placement.
May not suit every design.
Final Thoughts
The method you choose depends on the effect you want, the tools you have, and how many prints you plan to make. Experimenting with different techniques can be incredibly rewarding, and sometimes combining methods—like chine-collé with hand-colouring—can lead to surprising results.
Whether you’re looking for bold, graphic contrasts or soft, painterly overlays, there’s a colour method for every creative vision in linocut printing.
Leave a Reply